Tuesday, July 17, 2018

Sun and Moon Weaving


These images show you just a glimpse into some of the wonderful Mexican Sun and Moon Weaving works that were created at Blaxland Library by children these holidays. Students learnt about the significance of the sun and moon motifs in Mexican art, craft and culture, as well as important recurring patterns and symbols displayed on materials such as Mexican textiles and clay art/handicrafts. The students used a number of mediums - such as pencils, markers and oil pastels, before adding woven accents. Beautifully done, everyone! How-to below...


What you'll need:

1. White paper plates
2. Oil pastels
3. Textas 
4. Squeezable glitter pen
5. Wools of different textures
6. Scissors
7. Lead pencils
8. Eraser
9. Sharpener

Method:

Look at and discuss examples of the Sun and Moon face motif from Mexican culture. More info here.

Look at other recurring symbols found in Mexican art and craft, and explore their cultural significance. 

Children outline their duel face on the central circle of the paper plate, and then extend the design up on the outer rim of the plate (ie adding flames for the sun side). 

Using markers/textas to outline and do a bit of fiddling colouring in. Use oil pastels to complete the colouring, to give a texture, painterly surface. 

Cut strips inwardly on the rim of the paper plate, approximately an inch apart. 

Choose your favourite wool to start, tie a double-knot around your first section of the rim (or use masking tape on the back of the plate to secure the wool). From then on, it's just the usual in and out method of weaving around the plate until you are ready for a new colour (double-knot the new wool the the end of the old) or to tie off. 

We then made a loop of wool and tied it to weaving at the top of our faces, in order to be able to hang the works up!


Paper Clay Creatives

Using lovely soft paper clay, our school holiday students created all sorts of colourful creatures at Springwood Library/Hub! They practiced skills such as sculpting, adding texture and mixing colours. Have a look at the wonderful sculptures below!


Thursday, July 12, 2018

Snow Globes for Winter

Creative kids made their own winter wonderland snow globes recently at Katoomba Library, to celebrate the winter school holidays. Now these are souvenirs to treasure!


Wednesday, July 11, 2018

Beaded Snowflakes

It was snowing jewels in Blaxland this week with delicate beaded snowflakes made by clever kids!

What you need to make your own:


1. Pipe cleaners, preferably metallic

2. Scissors
3. Beads with holes large enough to fit on the wire of pipe cleaners (no seed beads!). Try and get some shiny beads in the mix, and clear beads (the sparkly pipe cleaner will be visible inside it)
4. Beading pliers (optional)

Method:

*Cut two pipe cleaners in half - you need 1.5 regular-sized pipe cleaners to make one snowflake.
*Take two shorter pieces, and twist them together a couple of times. Twist one more piece around the middle (great video tutorial here). You should end up with six spikes.
*Slip the beads on, leaving a couple of centimetres at each end.
*Curl the ends over to make a little pompom that stops the beads coming off.
*If you want, add a loop of some fishing line or ribbon on one end so you can hang your snowflake as a decoration! 

Thursday, June 7, 2018

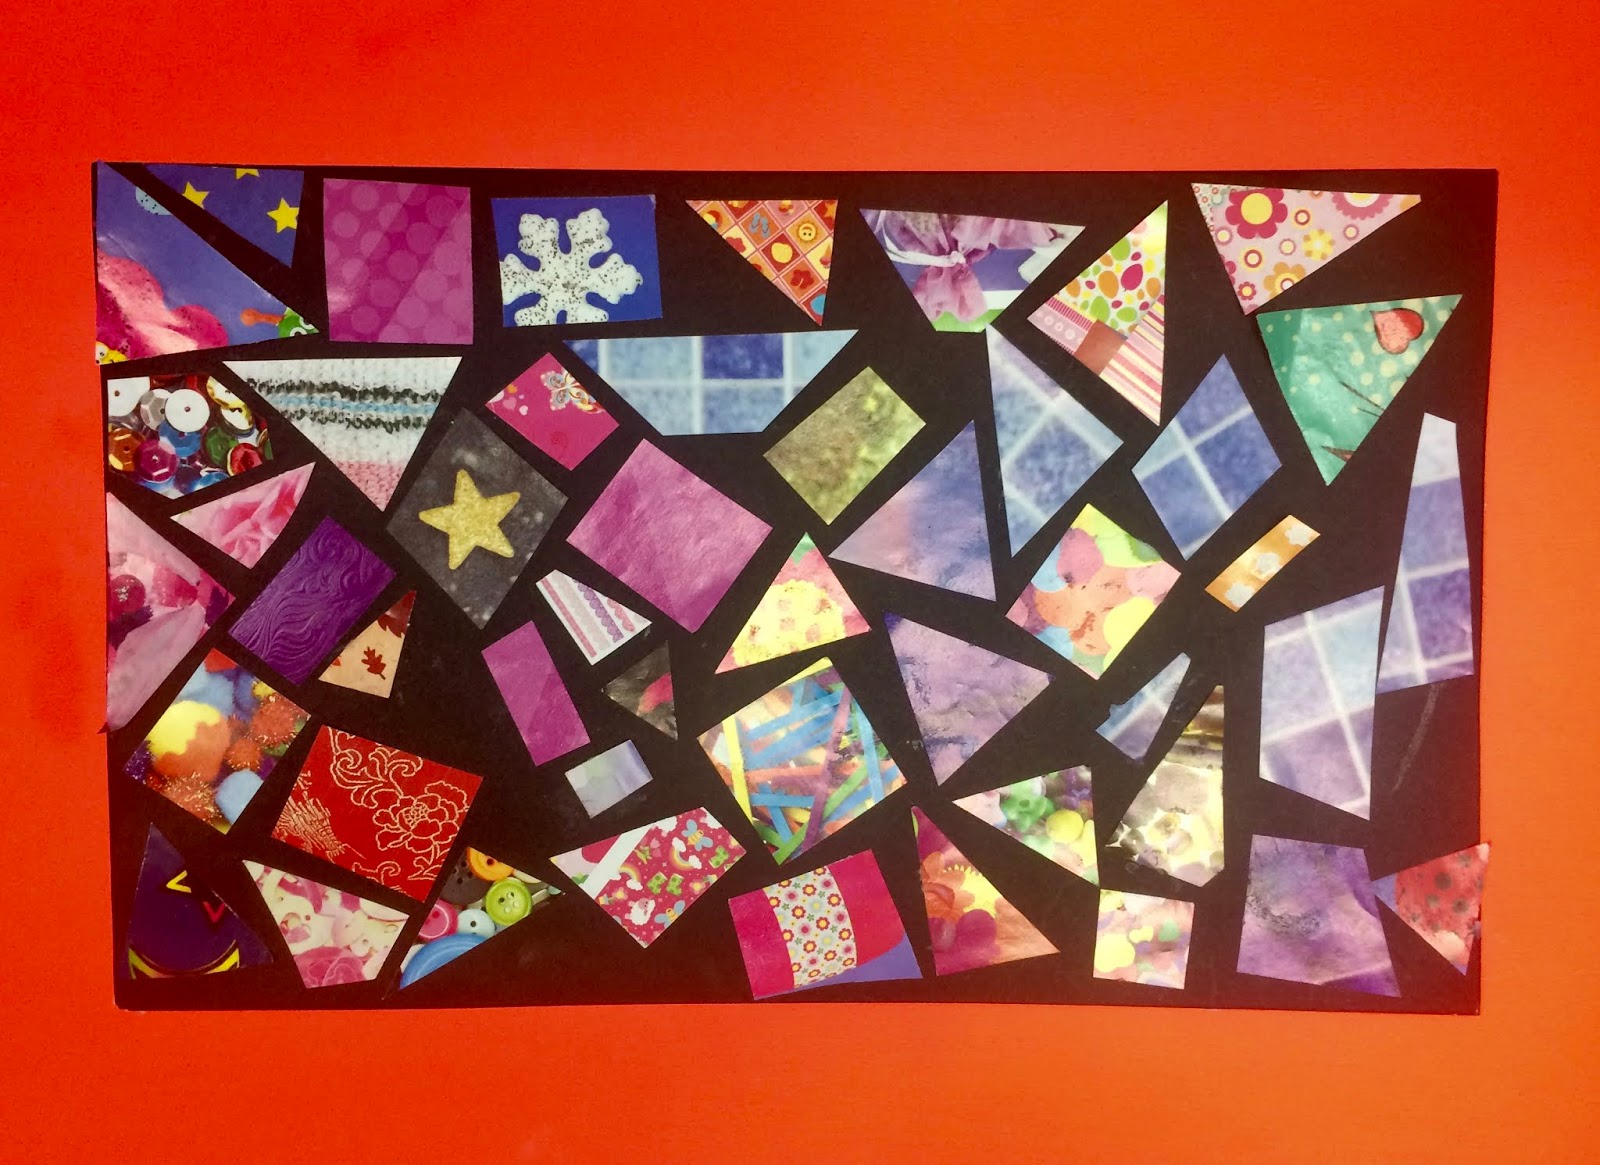
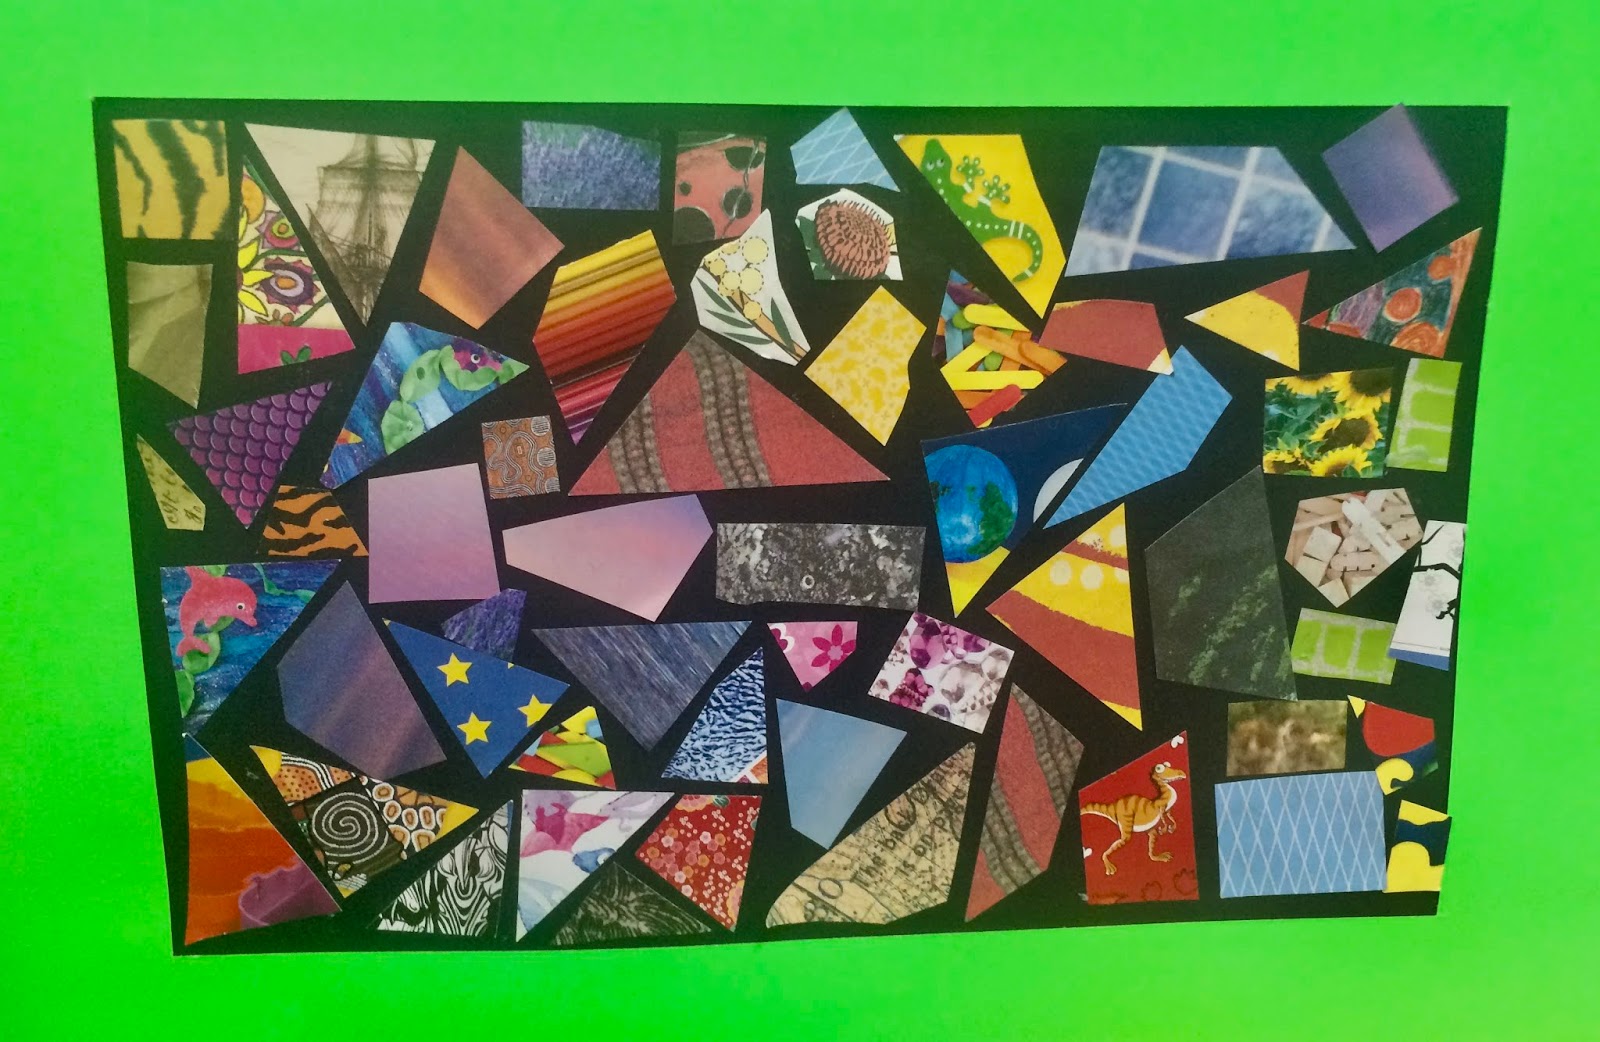
Paper Mosaic Collages


As an introduction to ancient mosaic tile art, today we created contemporary abstract mosaic collages with interesting papers on black cardboard. Having a coloured frame really made the colours of the collage pop.   


Thursday, May 31, 2018

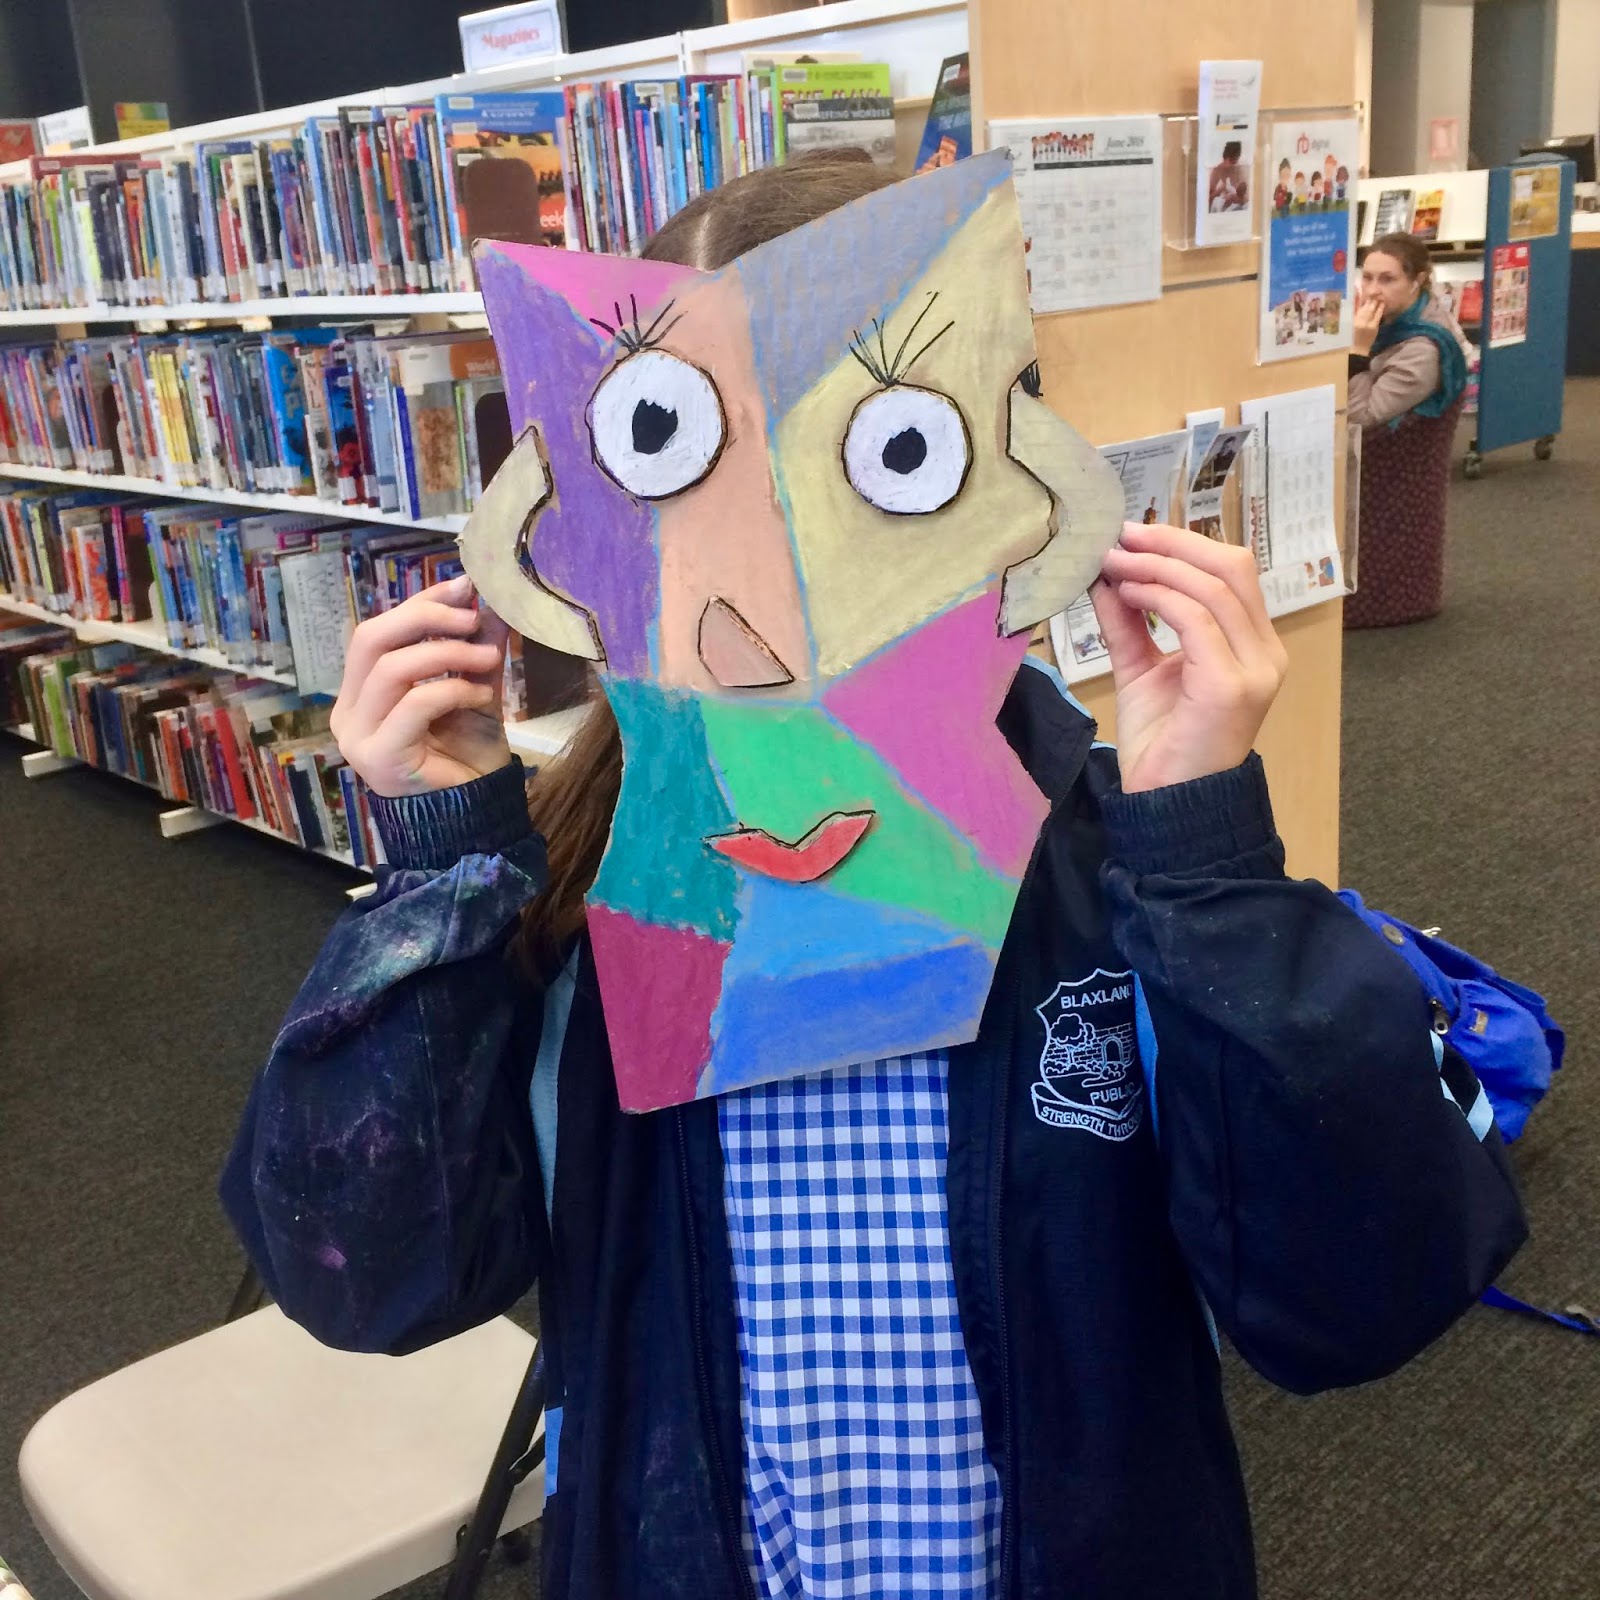
Mixed Media Cubist Masks


Materials:
Cardboard 
Boxcutter knife
PVA glue
Scissors
Oil Pastels
Chalk Pastels
Posca pens
Paintbrushes

For this class, I pre-cut the cardboard into random cubist-inspired face shapes, eyes, ear curves, triangles, circles, and squares. 

In the class we discussed Picasso's approach to depicting the face from different angles, and then had a go at arranging face details before gluing them in place with PVA and paintbrushes. As the glue dried, students added patches of colour on the face base and then on the facial features themselves, using oil/chalk pastels and Posca pens. 

The results are colourful and textured!