*Permanent markers
*Acetate or plastic book covers
*Black contact or sticker paper (optional)
*Scissors
*Paper and pencil/pen
*Thin ribbon, wool or string
*A hole punch
What you do:
1. First, draw out a stained glass design on paper. Don't make it too complicated!
2. Put your acetate sheet over the top of your picture, and then trace it using black permanent marker.
3. Turn the acetate sheet over, and then colour in the parts of your drawing. Turning it over means you won't get the black pen marks mixing in with your colour.
4. Optional: Cut strips of black contact and stick it over the black outlines in your picture. This will make the black parts look extra dark, and more like real stained glass.
5. You might like to cut the acetate into a smaller shape, depending on what look you want.
5. Lastly, punch two holes at the top of your artwork, and thread ribbon through them. Tie a double knot or bow, and voilà! Ready to hang next to your window!
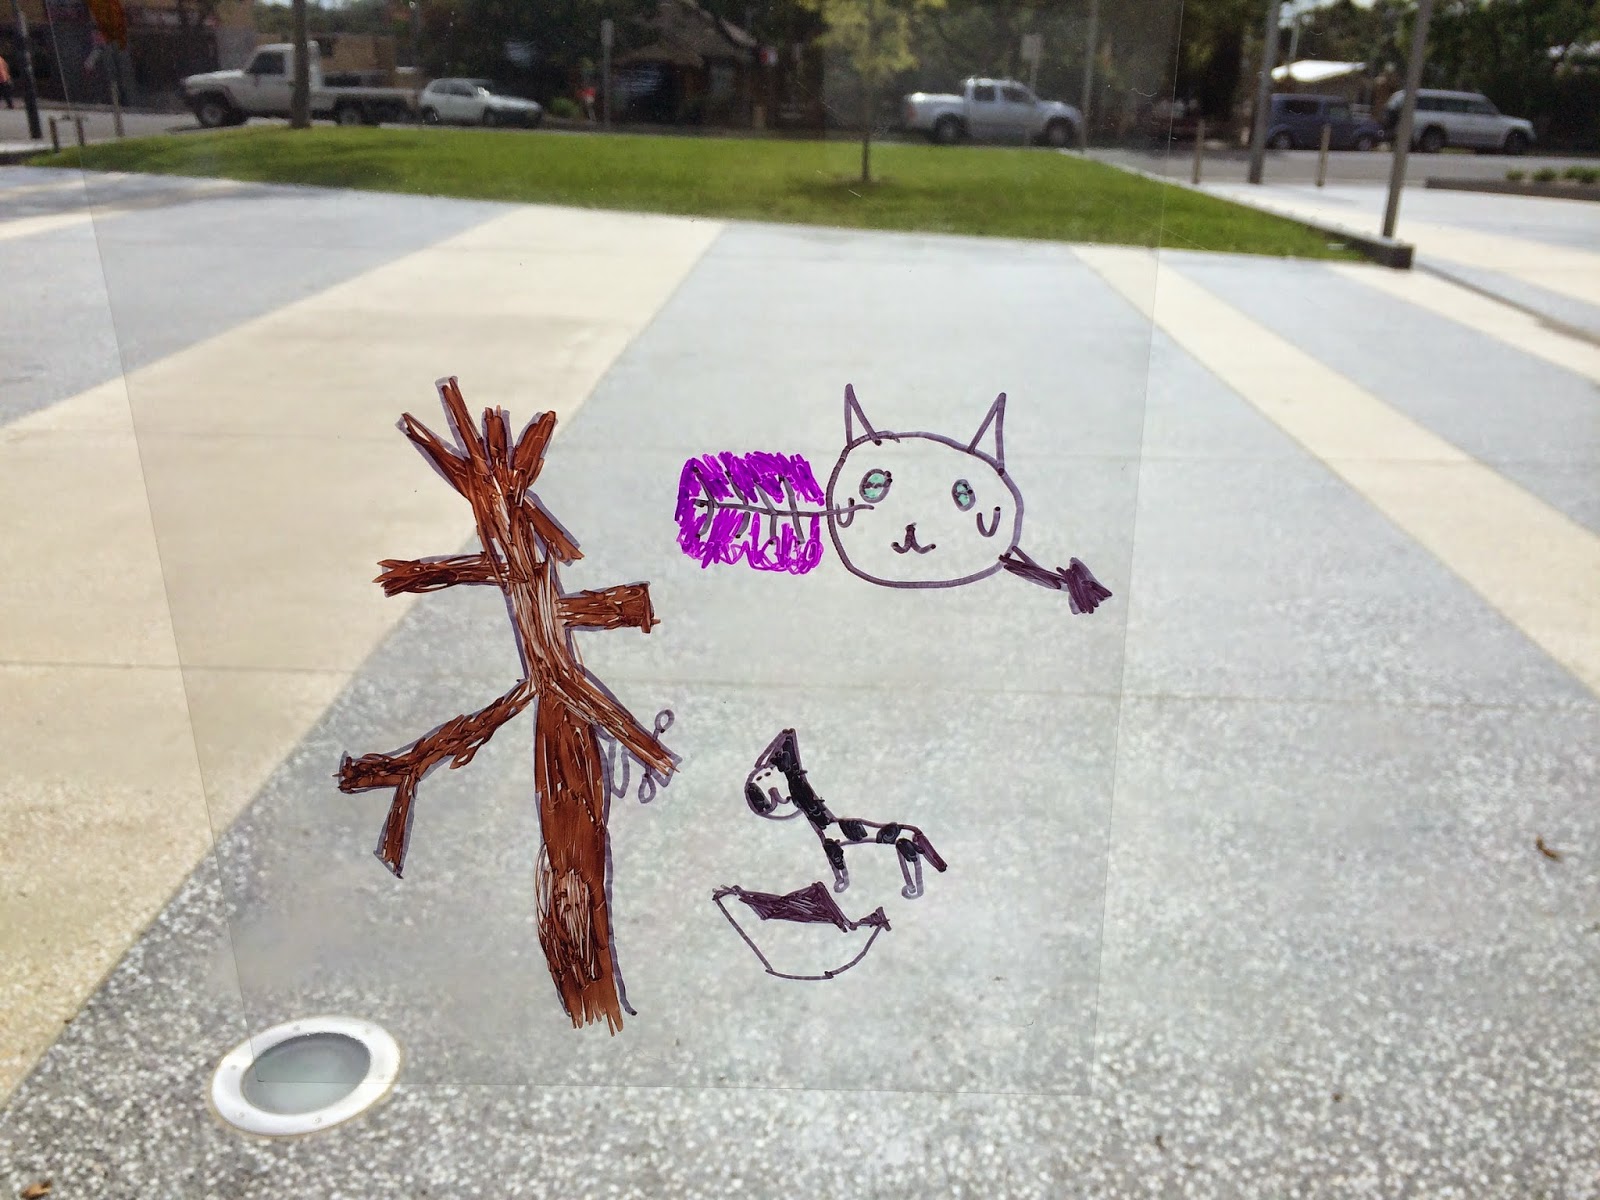
Below are examples of this artwork style, made by my class in Springwood today. Aren't they nice and colourful?! Very well done.


