The images below are just a few of the works made yesterday by Springwood Art Class. To make these abstract drawings, we each scrunched up a piece of paper into a ball and then opened it up again. Next, students traced the scrunch lines in black marker to create a shattered look reminiscent of stained glass, and then coloured in each section. Every work comes out completely differently, which is wonderful! It took about an hour for most children to complete an artwork on A5-sized paper.
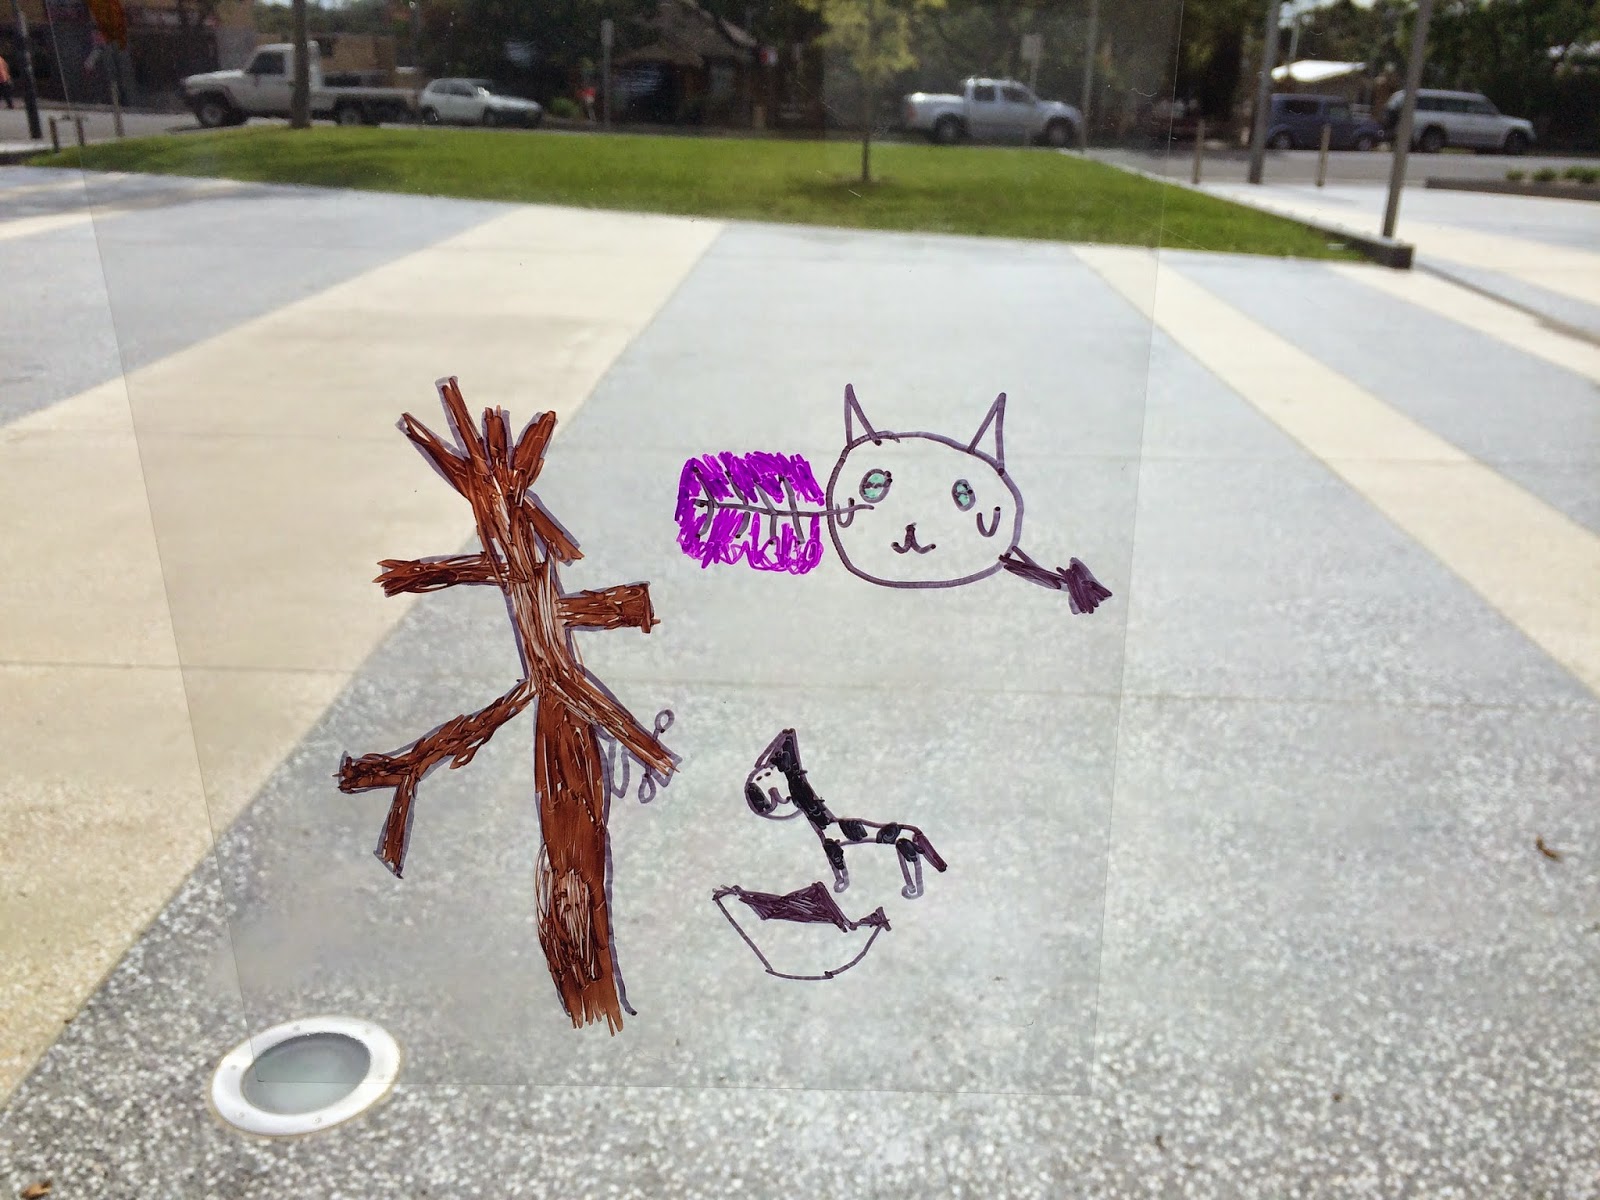
To make your own plastic 'stained glass', here's what you need: *Permanent markers *Acetate or plastic book covers *Black contact or sticker paper (optional) *Scissors *Paper and pencil/pen *Thin ribbon, wool or string *A hole punch What you do: 1. First, draw out a stained glass design on paper. Don't make it too complicated! 2. Put your acetate sheet over the top of your picture, and then trace it using black permanent marker. 3. Turn the acetate sheet over, and then colour in the parts of your drawing. Turning it over means you won't get the black pen marks mixing in with your colour. 4. Optional: Cut strips of black contact and stick it over the black outlines in your picture. This will make the black parts look extra dark, and more like real stained glass. 5. You might like to cut the acetate into a smaller shape, depending on what look you want. 5. Lastly, punch two holes at the top of your artwork, and thread ribbon through them. Tie a double knot or bow, and voilà! Ready to hang next to your window! Below are examples of this artwork style, made by my class in Springwood today. Aren't they nice and colourful?! Very well done.
At Katoomba Library today, I taught this Kite Workshop for kids. Firstly, students designed four kites on paper, and then selected their favourite design to use for the real kite. We used a kite kit each for the kites, which we assembled once the design was drawn on with fabric markers.
These school holidays aren't very long, but there's still time to get creative. Here's a few fun ideas for Autumn art:
Autumn leaf doodles and madalas from artfulparent.com
Get some metallic pens, go on an Autumn leaf hunt and start making designs. More here.
Contemporary Kids: Visual Vibrations @ The Museum of Contemporary Art, Sydney
A week of wild artmaking adventures for the whole family! Immerse yourself in the 19thBiennale and help transform a whole room into a larger-than-life installation of colour and rhythm. Contemporary Kids takes place during all school holidays (15–19 April). Info here.
Colourful folded leaves from krokotak.com
This website may not be in English but the visual instructions are clear! Make some beautiful paper to decorate your house for Autumn.
Chick Leaves
Make some cute creatures using leaves, glue, paper and textas. More here.
After trying different materials last term, Blaxland art class decided that paper towels were definitely most absorbent, and coffee filters also made for an interesting shape and effect. So this time around I got the Springwood class to use only paper towel, knowing it to be the easiest and best to work with.
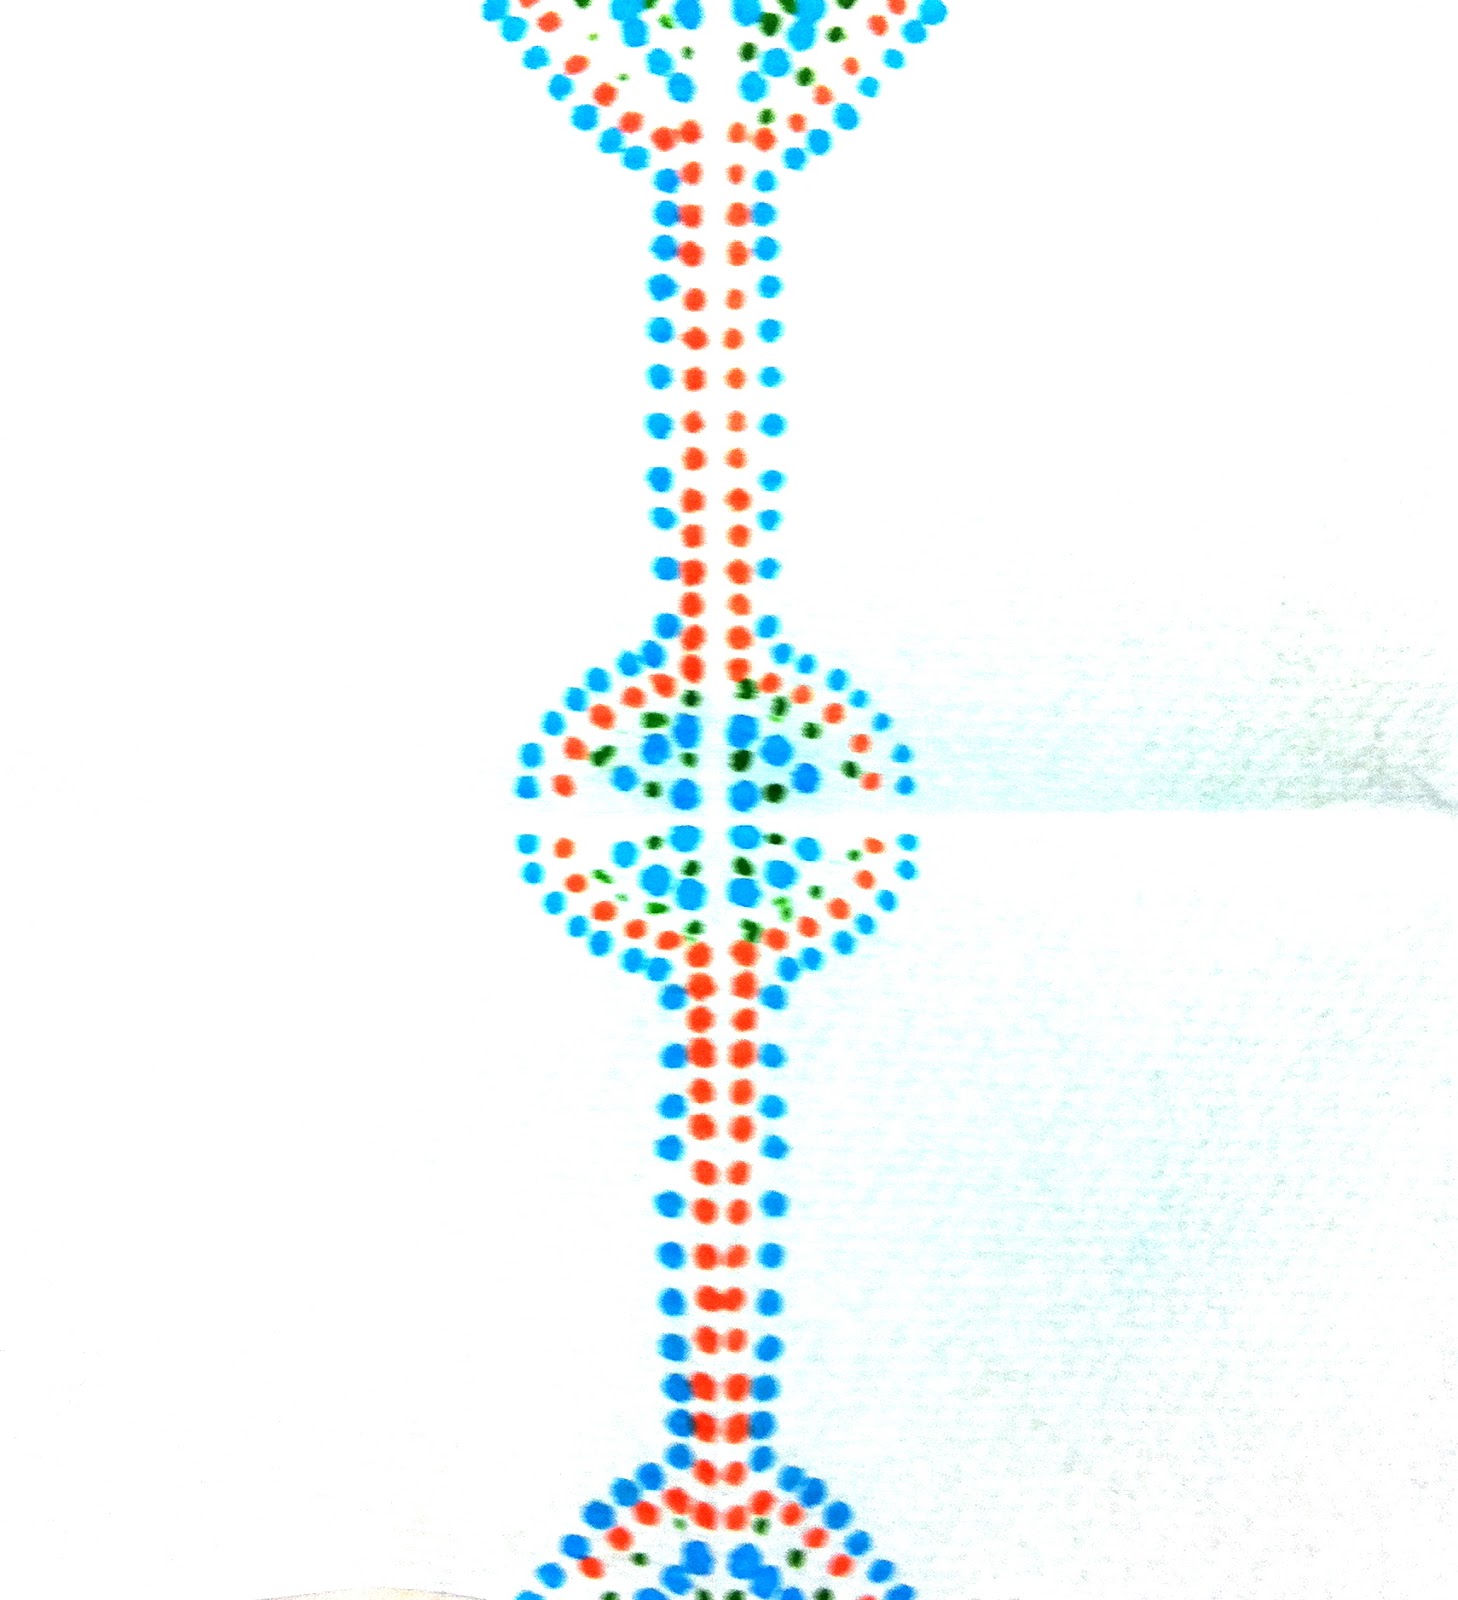
Folding paper towel squares a few times, into a square or triangle, textas were then held against the towel until it soaked right through to the other side. After adding a pattern, or the desired amount of colour, the folded papers were then opened up to reveal some amazing artworks! This project is a good introduction to both symmetry and working with absorbent paper and inks.