Wednesday, November 18, 2015

Colourful Cats on a Fence


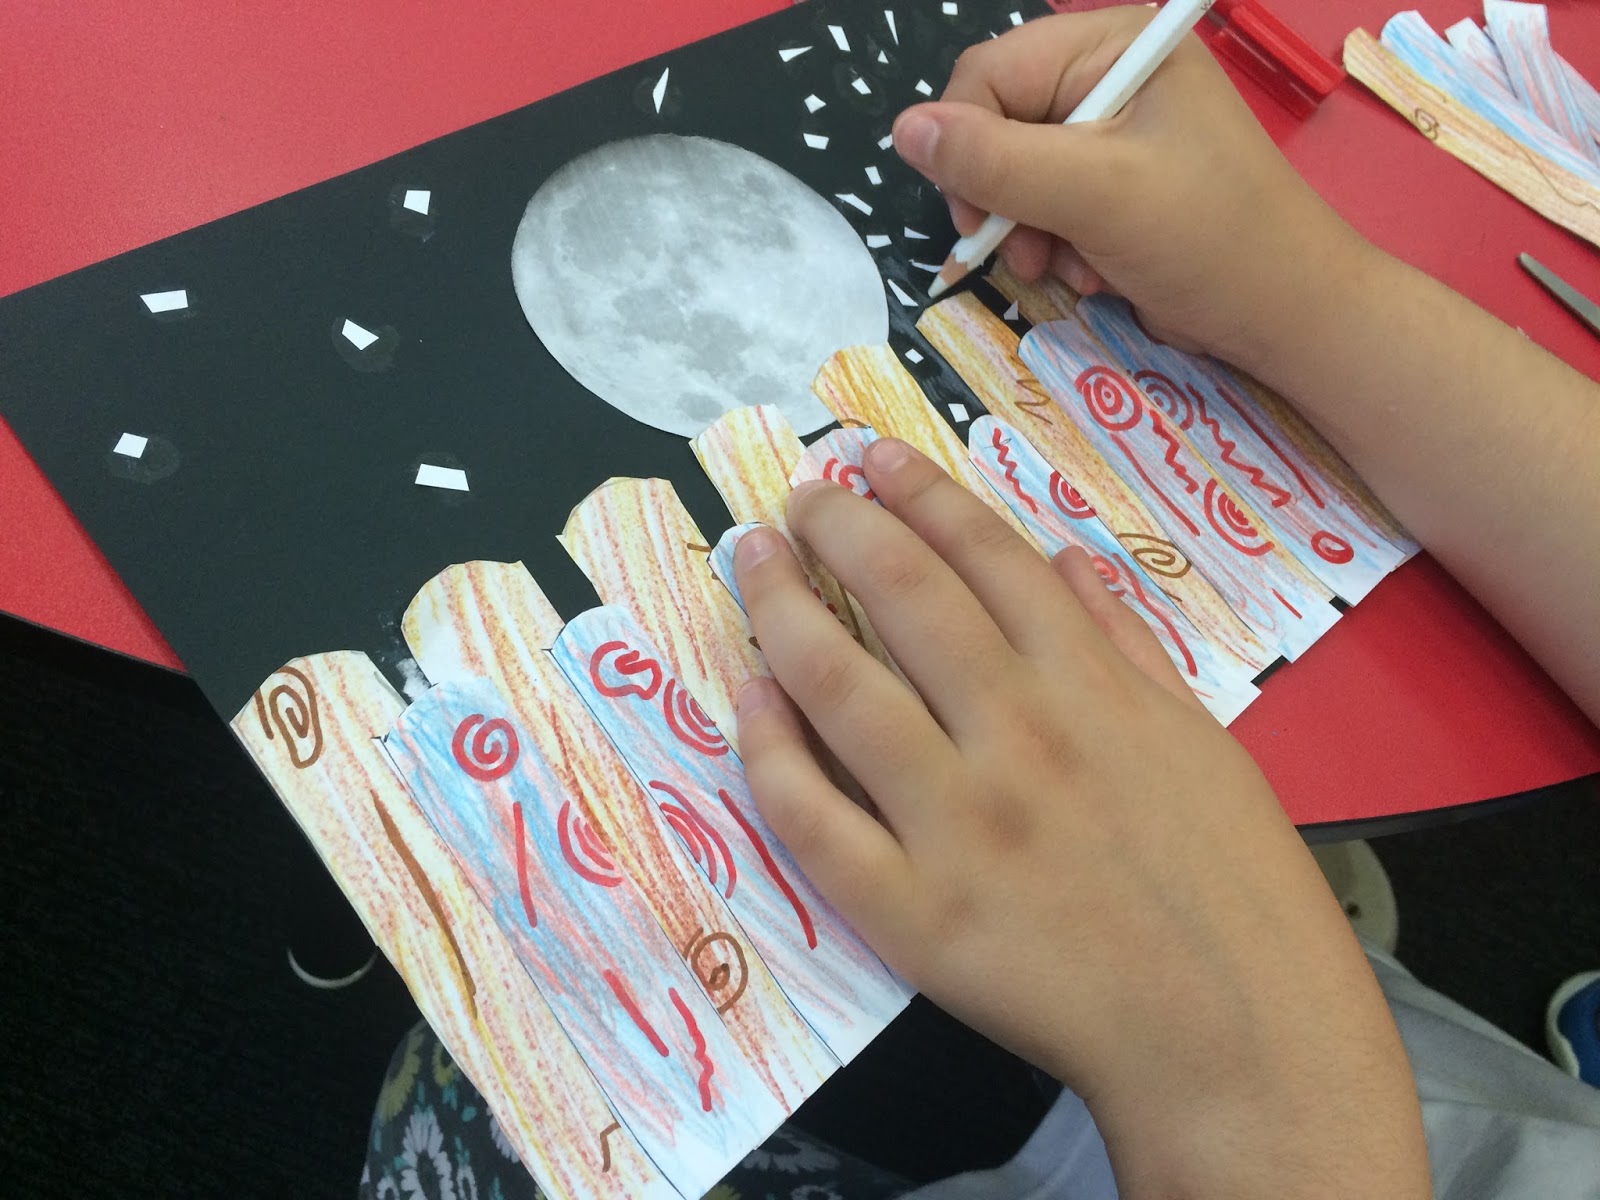
At Springwood Art Class today we created an image of cats on a fence, a variation on this Pinterest post. Our collage version included a photocopy of a photo of the moon, learning how to create a wood grain effect for the fence, and adding patterns to our lovely cats. 

Here are the wonderful artworks!


Thursday, October 29, 2015

Geometric / Op Art

For this class I prepared a template for the students to colour in. To create the design, trace the circles were around a CD / different sized plates, and the starburst needs to have an even amount of lines. 


Here are some the great works and works-in-progress:


We had some time at the end of the class to try some other optical art - including letter art and 3D hands:


Friday, October 23, 2015

Torn Collage Spirals


Then tear lots of coloured paper/text from magazines into little 1cmx1cm pieces. Glue them down, starting from the middle of your spiral, leaving no white paper showing underneath. It usually takes at least an hour on A4 paper.

Here are some great artworks from today's collage class at Springwood Library:


Wednesday, September 30, 2015

Spring School Holidays Overview

Hi everyone, these holidays have been a wonderful start to Spring! I've held a few creative classes in the Blue Mountains libraries over the past two weeks, and below are some pics of   the great artworks and crafts made by kids in the workshops: Scratch Art (etching), paper planes and french knitting.


Wednesday, April 8, 2015

Easter Stained Glass Class

To make your own plastic 'stained glass', here's what you need:

*Permanent markers

*Acetate or plastic book covers
*Black contact or sticker paper (optional)
*Scissors
*Paper and pencil/pen
*Thin ribbon, wool or string
*A hole punch

What you do:

1. First, draw out a stained glass design on paper. Don't make it too complicated!

2. Put your acetate sheet over the top of your picture, and then trace it using black permanent marker. 


3. Turn the acetate sheet over, and then colour in the parts of your drawing. Turning it over means you won't get the black pen marks mixing in with your colour. 


4. Optional: Cut strips of black contact and stick it over the black outlines in your picture. This will make the black parts look extra dark, and more like real stained glass.


5. You might like to cut the acetate into a smaller shape, depending on what look you want.


5. Lastly, punch two holes at the top of your artwork, and thread ribbon through them. Tie a double knot or bow, and voilà! Ready to hang next to your window!


Below are examples of this artwork style, made by my class in Springwood today. Aren't they nice and colourful?! Very well done.