Wednesday, April 8, 2015

Easter Stained Glass Class

To make your own plastic 'stained glass', here's what you need:

*Permanent markers

*Acetate or plastic book covers
*Black contact or sticker paper (optional)
*Scissors
*Paper and pencil/pen
*Thin ribbon, wool or string
*A hole punch

What you do:

1. First, draw out a stained glass design on paper. Don't make it too complicated!

2. Put your acetate sheet over the top of your picture, and then trace it using black permanent marker. 


3. Turn the acetate sheet over, and then colour in the parts of your drawing. Turning it over means you won't get the black pen marks mixing in with your colour. 


4. Optional: Cut strips of black contact and stick it over the black outlines in your picture. This will make the black parts look extra dark, and more like real stained glass.


5. You might like to cut the acetate into a smaller shape, depending on what look you want.


5. Lastly, punch two holes at the top of your artwork, and thread ribbon through them. Tie a double knot or bow, and voilĂ ! Ready to hang next to your window!


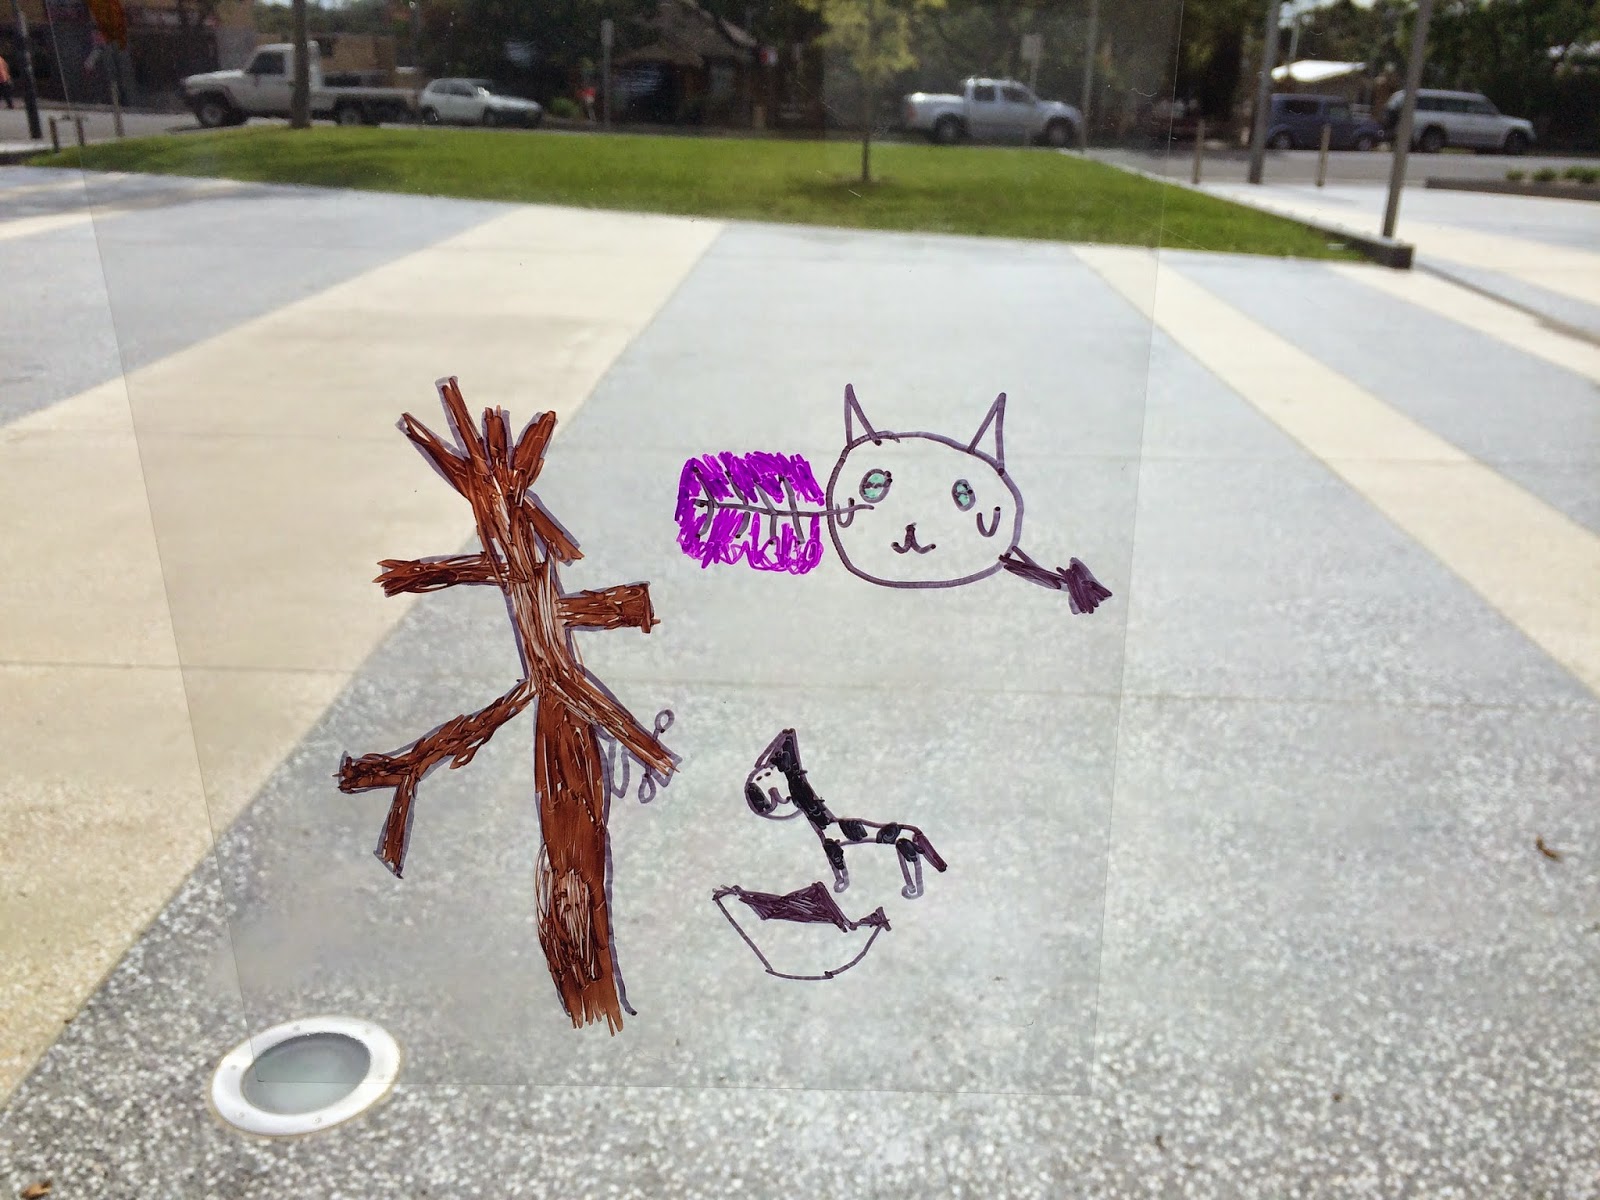
Below are examples of this artwork style, made by my class in Springwood today. Aren't they nice and colourful?! Very well done.



Thursday, March 26, 2015

Near and Far - Perspective

Have a look at these perspective artworks below - everyone drew a picture based on a road disappearing into the distance. Each student chose different objects to add to the side of the road and in the distance - like trees, farm animals, roadsigns, Minecraft characters... 


Thursday, March 19, 2015

Dotty Art

After discussing which cultures and artists have used dots in their artworks, the class today went about creating dotty art inspired by Japanese artist Yayoi Kusama.

We used dot stickers from the newsagent, adhesive sticker paper in fluorescent colours, coloured paper, glue and scissors, and coloured cardboard for the background. It's so fun making sticker dot art. Below are the colourful, spotty results!


Friday, March 13, 2015

Paper Bag Puppets

We had so much today - the kids in the class transformed ordinary white paper bags into wonderfully hilarious and silly puppets, using textas, pencils, paper, glue, scissors, tape and wool. Samantha Geddes, Library Trainee, helped us out - and the results are great! Be sure to check out the video at the bottom of the post.


Thursday, March 5, 2015

Pastel Pandas

Chalk pastels are perfect for creating the fuzzy fur of a cute panda. We lightly drew the panda together in lead pencil, choosing to have the panda resting along a branch on the ground. Then we used chalk pastel to fill in the colours, and spread it around with our fingers. I like to have baby wipes handy to clean our hands as we go. These panda drawings are so great!


And look at all the other fantastic designs made using pastels during free-drawing time!